Google Antigravity: The Autonomous Agent IDE
Antigravity is Google’s agent-first IDE where AI agents autonomously plan, code, test, and verify your applications.
Unlike other tools where YOU direct the AI, Antigravity’s agents take initiative. They plan their approach, write code, test it in a real browser, and iterate until it works.
Who Should Use This Guide?
- Anyone who wants maximum AI autonomy
- People building complex, multi-file projects
- Those who want a free, powerful alternative to paid tools
What you’ll get: Antigravity installed and your first agent-built app running.
Prerequisites: A Google account. That’s it.
What Makes Antigravity Different?
| Regular AI Coding | Antigravity Agents |
|---|---|
| You tell it each step | Agent plans the steps itself |
| You run the code | Agent runs and tests it |
| You spot errors | Agent finds and fixes errors |
| One file at a time | Entire project at once |
Think of it like this: Other tools are like having an assistant take notes. Antigravity is like having an assistant run the whole meeting.
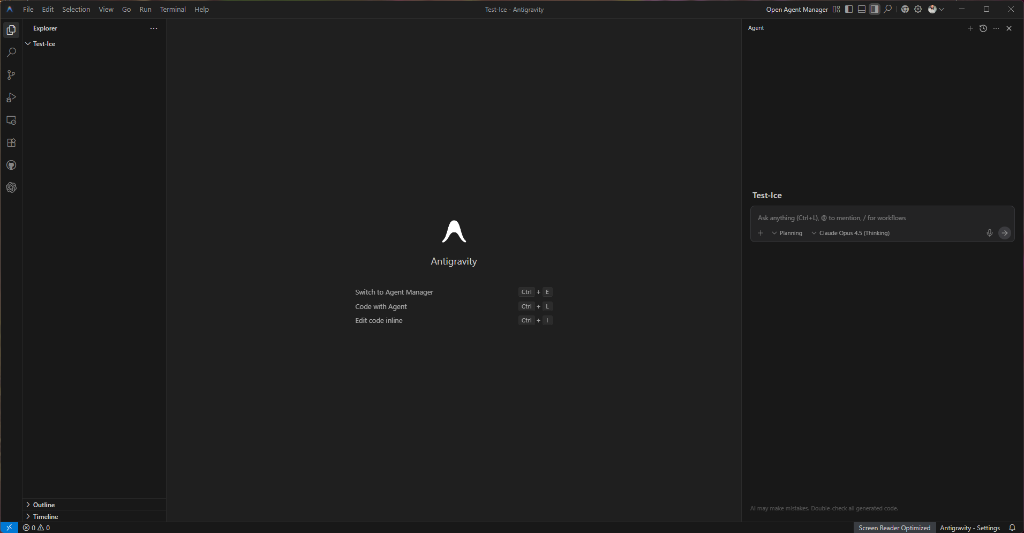
The Antigravity interface: Editor, Explorer, and Agent Panel
The Three Surfaces
1. Editor
The traditional code view. Files on the left, code on the right. You can still edit manually if you want.
2. Agent Manager
This is mission control. Watch your agents:
- Create task lists
- Write implementation plans
- Execute code changes
- Report back on progress
3. Browser
The agent’s eyes. It can:
- Open your app
- Click buttons
- Fill out forms
- Screenshot results
- Verify things work
This is the magic. The agent doesn’t just write code—it uses your app like a real user to make sure it works.
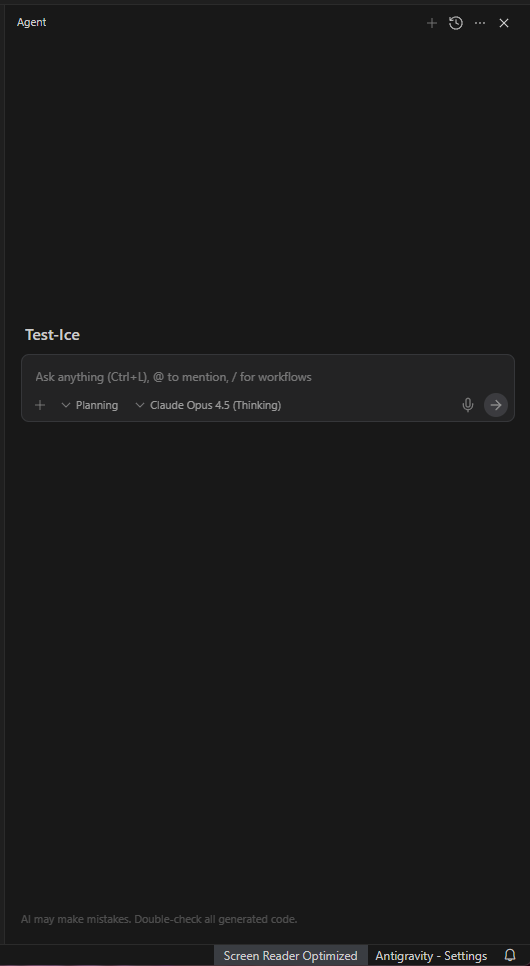
The Agent Panel: Select your mode (Planning/Execution) and model
Key Artifacts
When you work with Antigravity, it generates three important documents:
Task List (task.md)
A checklist of everything the agent plans to do:
- [ ] Set up project structure
- [ ] Create homepage component
- [x] Add navigation
- [/] Implement dark mode (in progress)
Implementation Plan (implementation_plan.md)
The technical blueprint before coding starts:
- What files will be created/modified
- What approach the agent will take
- Any decisions that need your input
Walkthrough (walkthrough.md)
After the work is done:
- What was actually built
- What was tested
- Screenshots and recordings
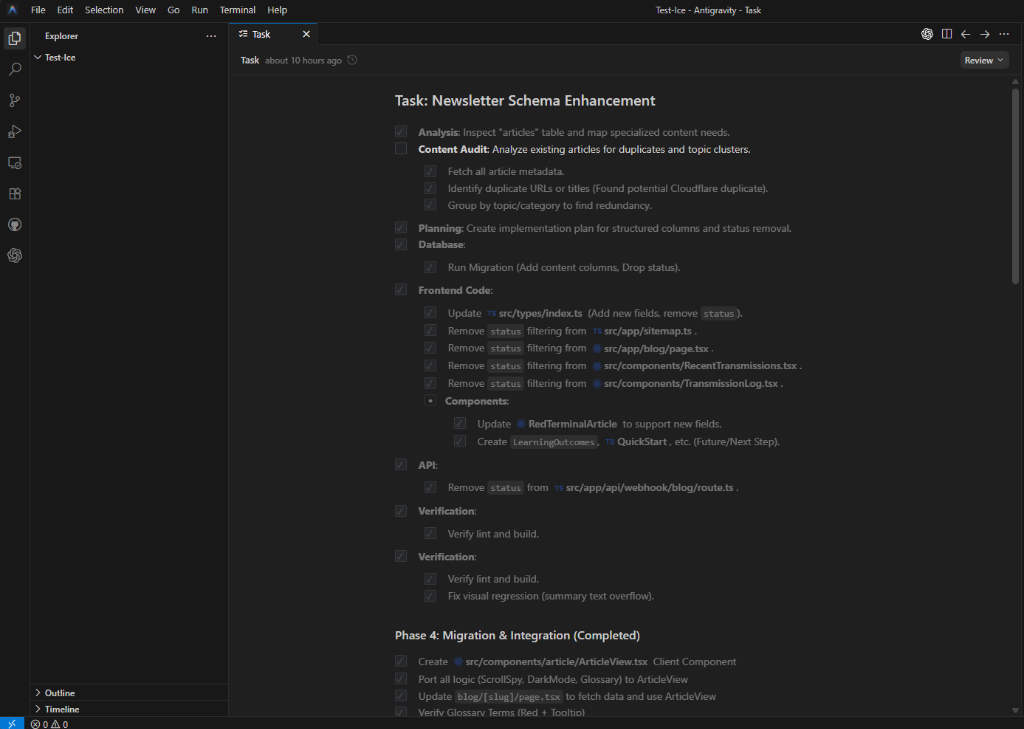
A real task.md: Structured checklist with phases and sub-tasks
Getting Started with Antigravity
Step 1: Install Antigravity
- Go to antigravity.google
- Download for your operating system
- Install and open
- Sign in with your Google account
Step 2: Select Your Model
When prompted:
- Choose Gemini 3 Pro for best results
- This is currently free during the preview period
Step 3: Create Your First Project
- Click “New Workspace”
- Choose a folder on your computer
- Describe what you want:
Build a personal finance tracker:
- List of expenses with date, amount, and category
- Ability to add new expenses
- Shows total by category
- Dark mode interface- Select “Planning Mode” (recommended for complex projects)
Step 4: Watch the Agent Work
The agent will:
- Create a task list
- Write an implementation plan
- Ask for your approval (if enabled)
- Start coding
- Open the browser to test
- Fix any issues it finds
- Report completion
You can intervene at any time to give feedback or change direction.
When to Use Planning Mode
| Mode | Use When |
|---|---|
| Planning Mode | Complex projects, learning new codebases, anything > 5 files |
| Direct Mode | Quick fixes, simple changes, when you know exactly what you want |
Planning mode generates the implementation plan first. This helps you:
- Understand what the agent will do
- Catch misunderstandings early
- Learn from the agent’s approach
Pro Tips
Be Specific in Your Prompts
❌ “Make a website”
✅ “Make a portfolio website with: hero section, about me, 3 projects in a grid, contact form”
Use the Browser Verification
Before accepting changes, watch the agent test in the browser. If it doesn’t test something important, ask it to.
Review Implementation Plans
Read them! They show you what the agent understood. Correct misunderstandings before coding starts.
Reference Files When Needed
“Looking at src/components/Header.tsx, add a navigation dropdown”
The agent works better with specific file references.
Current Limitations
⚠️ Preview Period: Some features may change
⚠️ Large Projects: Very large codebases (1000+ files) may be slow
⚠️ Offline: Requires internet connection
Comparison to Cursor
| Feature | Cursor | Antigravity |
|---|---|---|
| Price | $0-$20/mo | Free (preview) |
| Autonomy | You direct | Agent-driven |
| Browser Testing | Manual | Built-in agent |
| Multi-Agent | No | Yes |
| Best For | Manual control | ”Just build it” |
Use Cursor when you want control and to learn the code.
Use Antigravity when you want the fastest path to a working app.
Next Steps
→ Try a Project — Build something with Antigravity
→ Cursor Guide - Compare with the other top option
→ MCP Servers - Extend what agents can do